Creating W-2s and Viewing Tax Form History:
| 1. | The Aatrix W-2 tax forms are accessed through the Payroll > Tax Forms / E-File / W-2s menu option. |
| 2. | Select the Federal option and then select the W-2 / W-3 forms for the appropriate filing year. |
| 3. | The Report Date Settings will be set to Annual. Select the appropriate filing year. |
| 4. | Click the Display Form button and AccuBuild will then begin creating all of the necessary data required for the W-2s. |
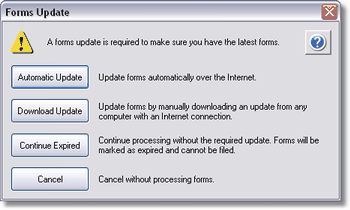
| 5. | The Aatrix Program will automatically check whether you have the latest version of all forms installed. Choose Automatic Update to install the most current version of the forms. Once the update has been completed, be sure to click the Display Form button once again to proceed to the next step. |
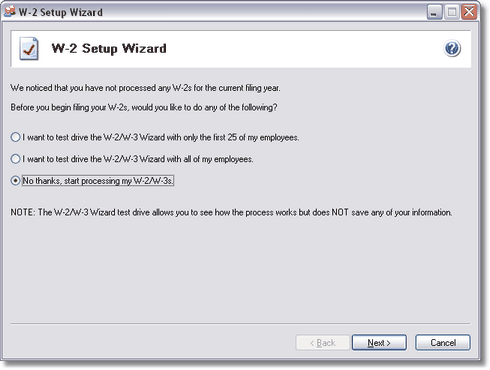
| 6. | The W-2 Setup Wizard will display three options, two of which are 'test drive' options. The W-2 Test Drive feature allows you to test the W-2 process without actually saving any data. This will allow you to become more familiar with the process before actually filing. This dialog screen will only be displayed if you have not processed any W-2 filings for the current filing year. If you select to run the W-2/W-3 Wizard as a test drive, you will not be able to save any of the information as a draft or a history to be used again. |
•I want to test drive the W-2/W-3 Wizard with only the first 25 of my employees.
This option will gives you the ability to run through the process using a small amount of the data. This will be helpful and save time if you have hundreds of employees and would like to test the process quickly.
•I want to test drive the W-2/W-3 Wizard with all of my employees.
This option will allow you to test the process using all employee data and will give you a more detailed “test run” as compared to testing with a smaller amount of data.
•No thanks, start processing my W-2/W-3s
Select this option if you do not wish to use the test drive and would like to process your W-2s/W-3 right away.
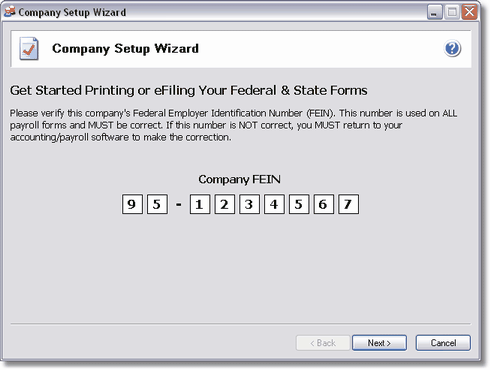
| 7. | The W-2 Setup Wizard will ask you to confirm and/or type in additional information necessary for processing the W-2s and W-3. |
•Federal Tax Identification - Aatrix will display your company's federal tax id that you have already entered into AccuBuild when you set up the system. If this information is not correct, please change this information on the Payroll > W2s > Properties screen.
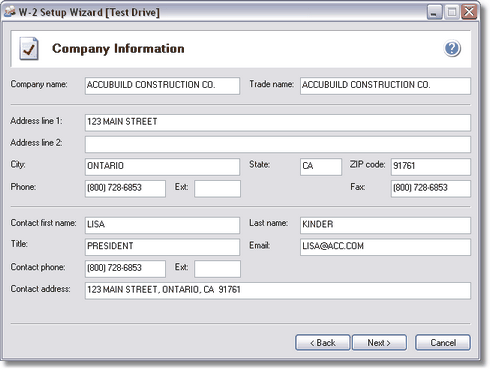
•Company Information - Complete the requested information on the company information screen.
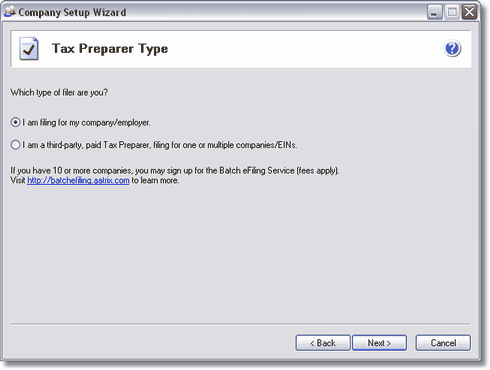
•Tax Preparer Type - There are two preparer types to choose from:
oI am filing the forms for your company/employer
oI am a third-party, paid Tax Preparer, filing for one or more companies/EINs.
If you choose this option, then there will be additional information that you need to complete that will be used on the forms for the sections required to be filled out by the paid tax preparers.
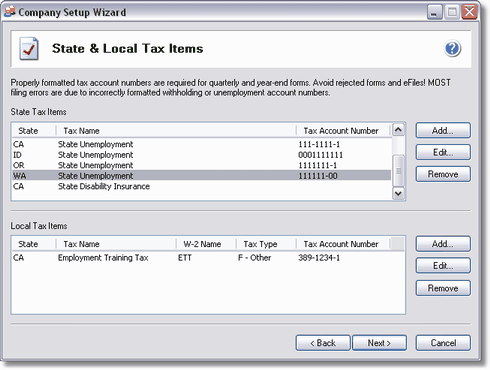
•State and Local Tax Items - Aatrix will display the state tax identification numbers that you have already entered into AccuBuild when you set up the system. Be sure to review the settings and make any changes on this screen as needed.
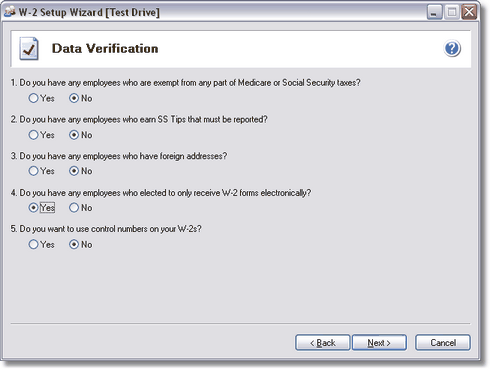
•Data Verification - There are six questions on this screen you must answer which allows the W-2 employee grid to update dynamically based on your answers.
| Note: If any of your employees have elected to only receive W-2 Forms electronically, then they must complete a consent form and it must be submitted to Aatrix prior to filing the forms. |
.
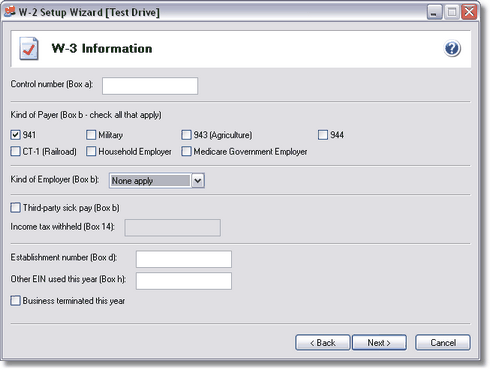
•W-3 Information - Complete the requested information on the W-3 Information screen.
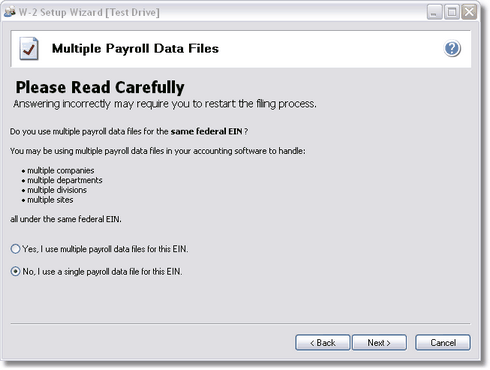
•Multiple Payroll Data Files - Select 'single payroll data file for this EIN'.
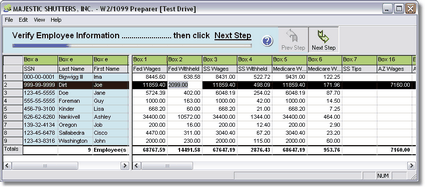
•Verify Employee Information - The employee information grid will display all company information and earnings as recorded in AccuBuild. Changes may be made directly on the grid, however, this information will not update AccuBuild's historical information and, therefore, will not affect any AccuBuild reports. Click the Next Step button to proceed.
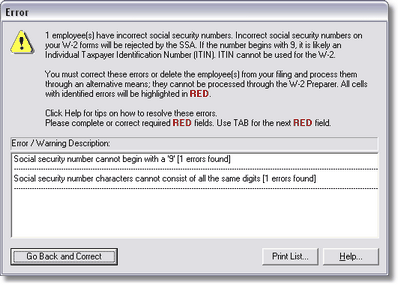
If Aatrix finds any errors in the employee information, then the system will display the specific issues in a pop up screen. Any items displayed in RED must be fixed before the process may continue. In this example, Aatrix has found social security numbers that are not correct. Click the Go Back and Correct button to fix the errors temporarily in the Employee Information Grid.
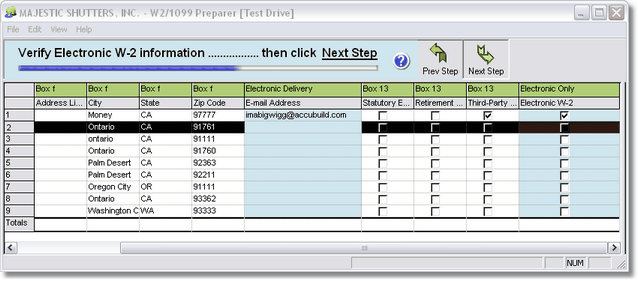
If any of your employees have elected to only receive their W-2s electronically, then the employee's email must be entered and the Electronic Only W-2 column must be checked. If the employee's email address was entered into the employee information screen in AccuBuild, then it will automatically populate the grid, however, you may manually enter the email address in this grid as a temporary fix. The Electronic Only W-2 is not an option in the AccuBuild program so you must check this box in the Aatrix grid as appropriate. Be sure any applicable employees have completed the Electronic Only W-2 Consent Form before filing your forms.
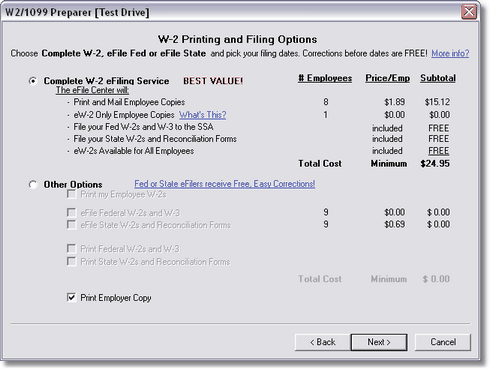
•The next screen will give you package or individual pricing options for printing and filing your W-2s.
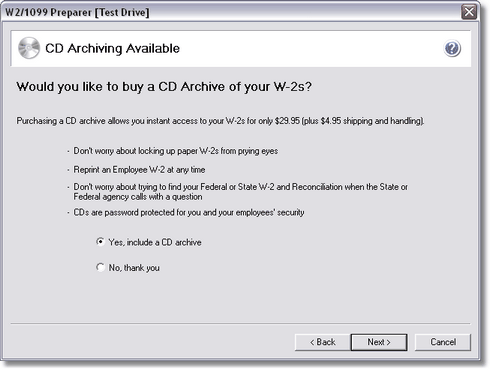
•You may also choose to purchase a CD of your W-2s.
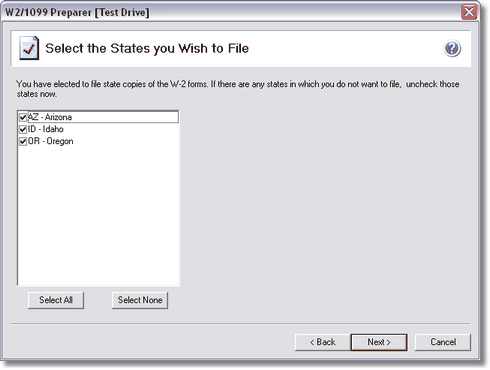
•You may also choose to electronically file state copies of the W-2s. Depending on the state, you may be prompted to choose a specific state filing form.
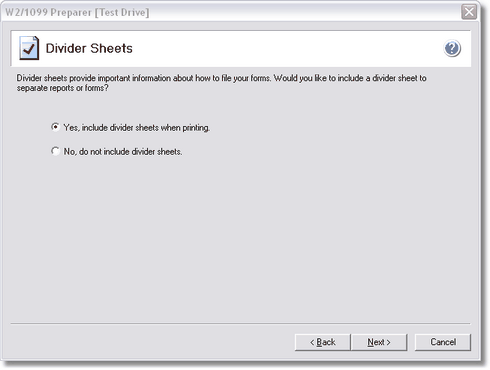
•Divider Sheets are optional but they provide information about how to file your forms. These will print as the first page whenever you print a specific group of W-2s, such as the Employer Copy, so be sure to take that into consideration when calculating how many forms you need and when you are loading your forms into your printer.
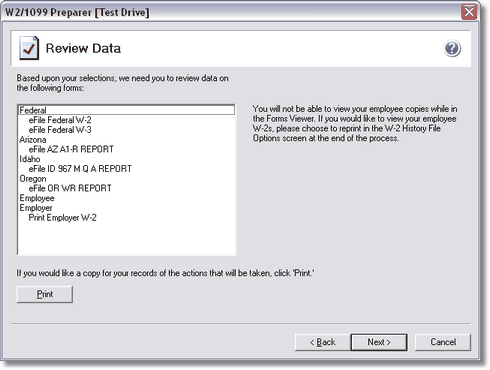
•Review Data - Click on each item to review the report.
•The W-2s will now be displayed. Remember that the W-2 forms are a six part form so each part will be displayed as a separate report. Click Next Step to proceed from one report to the next.
The Employer Copy of the W-2 (report 1 of 6) will be displayed first which may then be printed to the 4 part peforated W-2 paper that you purchased from one of the AccuBuild preferred form providers.
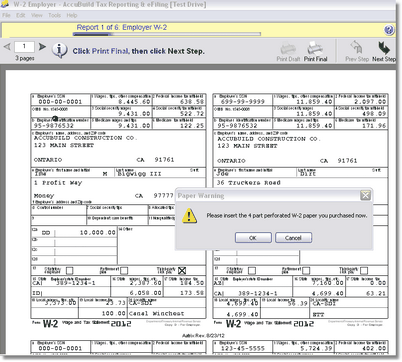
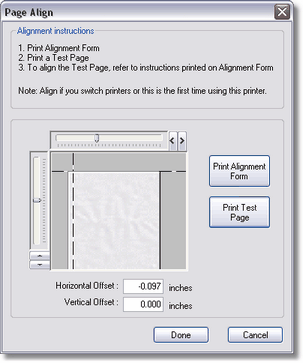
•Click the Print Final button to print your form. Be sure to test the alignment by choosing the Page Align button before you print the actual forms.
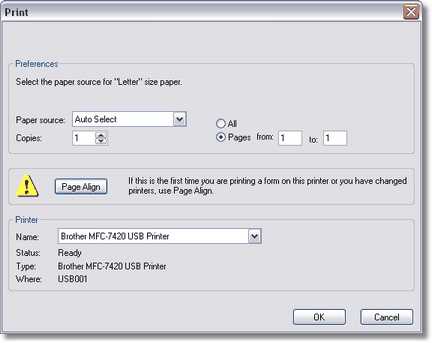
•Follow the instructions on the screen for printing a test page. Use the Horizontal Offset and the Vertical Offset fields at the bottom of the screen to change the alignment. For example, if you need to move the printing of the form to the left so it doesn't print directly on the perforation, then enter a negative value in the Horizontal Offset field.
