Certified Payroll XML Export
As of June 4th, 2015, The California Department of Industrial Relations (DIR) is requiring that all certified payroll reports be submitted online using the eCPR system. The eCPR System allows the payroll information to be entered manually online or by uploading a compatible XML file for each weekly report. Please visit their website for more information on the new eCPR process using the following link: https://www.dir.ca.gov/Public-Works/Certified-Payroll-Reporting.html.
AccuBuild has developed a new type of custom report process that will allow the certified payrolls to be exported to the new XML format. This reporting process consists of additional fields to be set up on each job and in the payroll properties, along with a new certified payroll report that allows for automatic creation of XML files after the report is previewed.
Once you have this new feature installed in your AccuBuild System, you will want to follow the instructions on the DIR Website for checking the XML file against the XML Schema Spec BEFORE uploading the XML Report. The DIR has provided complete instructions and video overview along with software tools to test your XML files. The following is a simplified outline of steps required to begin using the XML Reporting features of the AccuBuild Program:
AccuBuild Program Setup:
1)Update the AccuBuild Program to the latest version – Version 9.3.0.3 or later.
2)Obtain a copy of the new AccuBuild XML Report file and save to the Report Folder under the AccuBuild Program Directory.
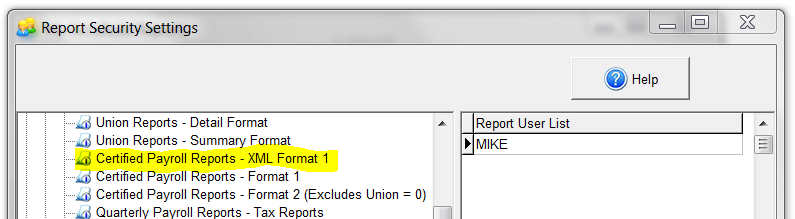
3)Update the MAR Report Security on the new XML Report so that it is accessible in the report list:
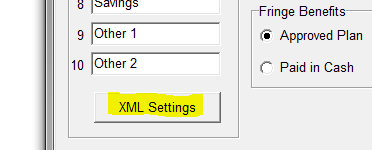
4)Update the Payroll Properties to map the Certified Payroll Accumulators to the designated XML fields required by the eCPR System. Open up the Payroll Properties screen and select the Certified Payroll Tab. Click on the new XML Settings Button located on the bottom left side of the screen in the Accumulator Descriptions group box:
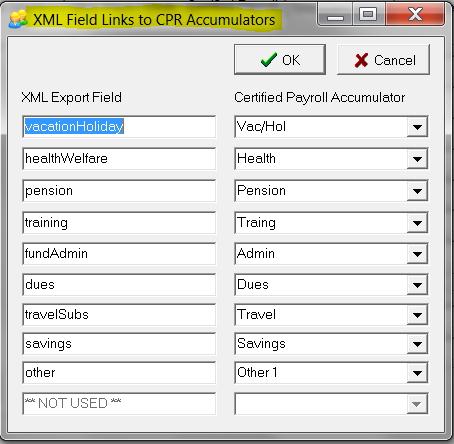
5)A new screen will be displayed which will allow you to link your AccuBuild Certified Payroll Accumulators to the corresponding XML Export Field required by the eCPR reporting system. The required XML fields for eCPR are listed on the left side of the screen and you will need to map your Certified Payroll Accumulators to each XML field using the drop down list fields located on the right side of the screen. NOTE: This is a one time setup and will not need to be changed unless you change any of the Certified Payroll Setup fields in the Payroll Properties Screen.
6)Check to make sure the following (existing) Certified Payroll fields are set up on the job as these fields are required for the XML Export:
•Workers Comp Policy Number – This field contains the workers compensation insurance policy number or the self insurance certificate number. Enter NA if you are not required to hold workers' compensation insurance or self insurance certificate.
•Employer’s Fed Payroll I.D. No. – This field contains the employer’s federal payroll tax id number (Federal Employer Identification Number) of the contractor or company that is legally responsible for this payroll. This is the 9 digit number that companies with two or more employees are required to have. If you are a sole proprietor or owner operator without a FEIN, then enter your 9 digit social security number. For example: 234556789.
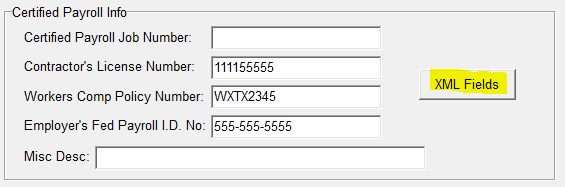
7)Set up the new required fields for the XML Export on each job that you are required to file certified payroll with the new eCPR System. Open the Job List (Update Jobs menu option) and select the job number to be updated. Click on the Payroll Tab and click on the new XML Fields Button located in the Certified Payroll Info Group Box:
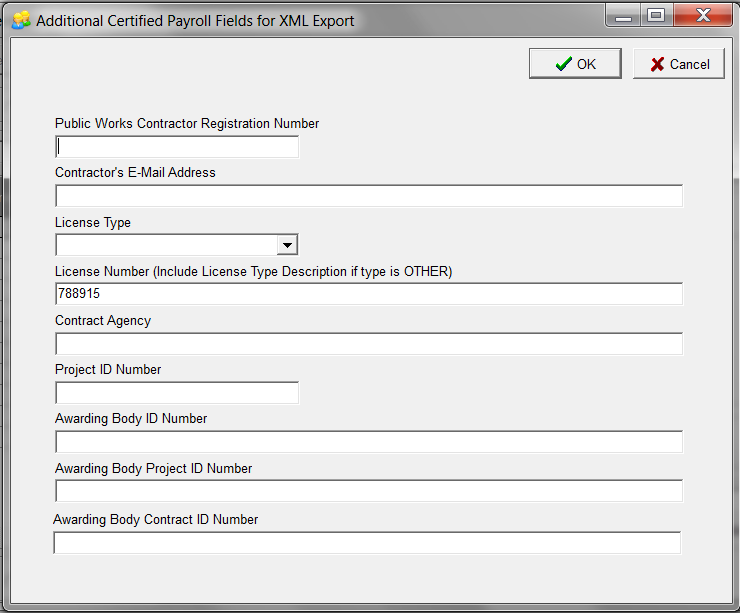
8)A screen will be displayed showing the additional fields that are required for the XML Export. Fill in the field information as required for the specific job:
•Public Works Contractor Registration Number - This field contains the 10 digit PWCR (Public Works Contractor Registration) number of the contractor or company that is legally reponsible for this payroll. If you have not registered for PWCR, please do so as soon as possible.
IMPORTANT NOTE: Leave this field BLANK if you do NOT have a PWCR number – The XML file will automatically set the field to NA as required by the eCPR specification.
•Contractor’s E-Mail Address – Enter the contractor’s email address into this field. NOTE: The email address from the Contractor’s Client Number will be copied to this field automatically if it is set up on the client list. See the Billing Contact Info section on the Billing Tab of the Job List to find the client number of the Contractor.
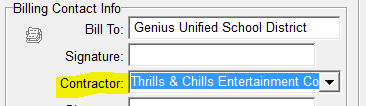
•License Type – Select the License Type from the drop down list of options. CSLB stands for Contractor's State License Board. PL stands for Professional License. If your license type is not one of the two, use the OTHER option.
•License Number – This field contains the License Number. If the License Type is OTHER, you will need to include a description of the license type in this field. For example: California Motor Carrier Permit: 0123456. NOTE: The Contractor’s License Number will be copied to this field automatically from the Job List screen if available.
•Contract Agency - This field contains the name of the agency or contractor you are in direct contract with. Note: This is the contract With element on the online form.
•Project ID Number – This field contains the DLSE project identification number for a given PWC-100 registered public works project. If you do not have this number, then you will need to update the following fields including the Awarding Body ID Number, Awarding Body Project ID Number, & the Awarding Body Contract ID Number.
•Awarding Body ID Number – This field contains the identification number of the public entity that is the owner of the project. This field is only required if the Project ID Number field is blank.
•Awarding Body Project ID Number – This field contains the project number given by the Awarding Body on a specific project. This field is only required if the Project ID Number field is blank.
•Awarding Body Contract ID Number – This field contains the contract identification number given by the Awarding Body on a specific project. This field is only required if the Project ID Number field is blank.
Generating the XML Files from the AccuBuild Program:
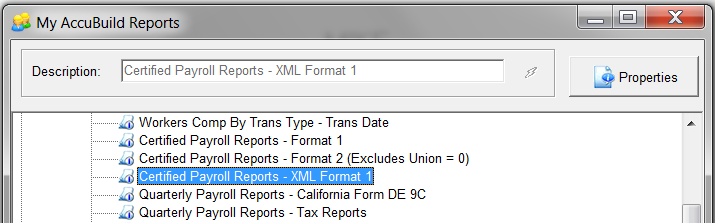
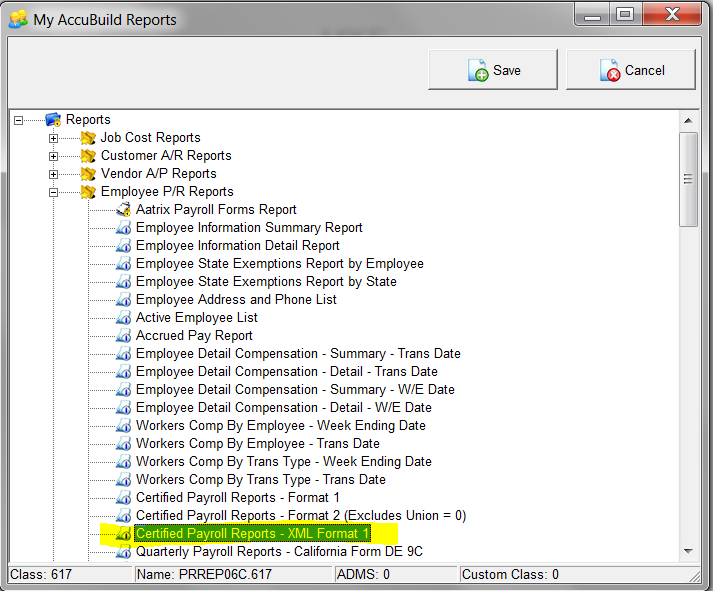
1)Select the Certified Payroll Reports – XML Format 1 report from the MAR Reports Menu:
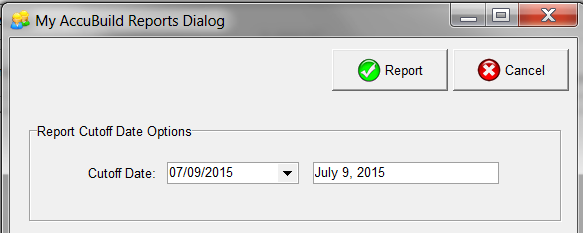
2)Fill in the Week Ending Date on the report dialog under the Cutoff Date and click the Report Button:
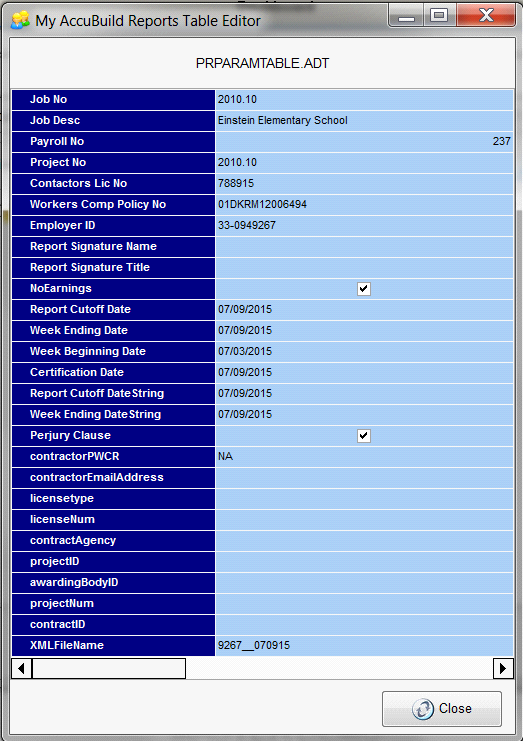
3)The certified payroll report dialog screen will be displayed with record information for each job that has a certified payroll report for that period. The dialog screen allows you to preview the report variable field information and make any changes to the data before generating the report for the XML Export Process. Click the CLOSE Button on the dialog screen to preview the certified payroll report on the screen.
NOTE: The last field for each job record is the XMLFileName field which is used to name the exported XML file.
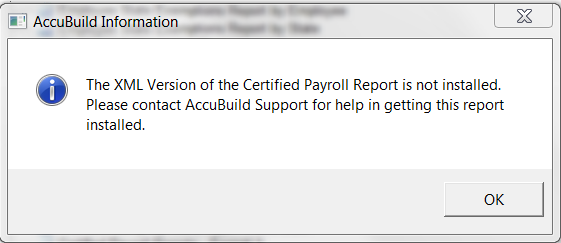
WARNING - If the special XML Report has not been installed on your AccuBuild System, you will be alerted with the following message and you will need to contact AccuBuild Support to help get the report installed.
4)The certified payroll report will be displayed on the screen. Review the report and print a copy for your records if required and then close the report screen.
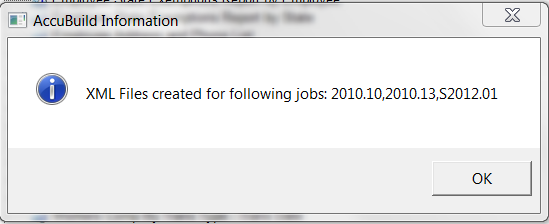
5)Once the report screen is closed, the XML files will be generated and saved in the user’s folder under the company folder of the AccuBuild Installation directory. Once all of the XML files have been generated, a message will be displayed indicating the list of job numbers that were processed:
Note: Each XML file is saved and named using the following file name format: [Federal ID Number]_[Project ID]_[Week Ending Date].xml. For example: 6789_DIR001_070915.xml where 6789 is last 4 digits of Fed ID Number, DIR001 is the Project ID, and 070915 is the week ending date (07-09-2015).
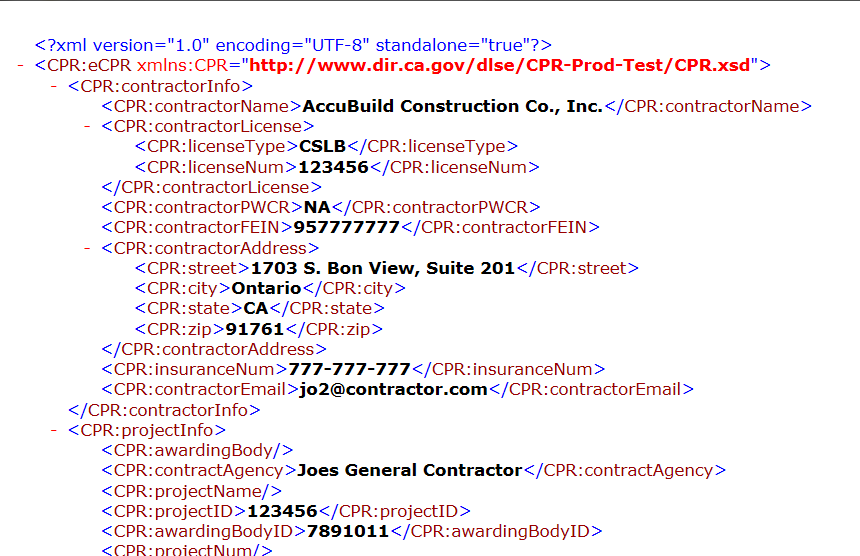
The following screen shot is a sample of XML file layout produced by the AccuBuild System:
Testing and uploading the XML Files from the AccuBuild Program:
1)Before uploading your XML files, you can use the validation tools as provided by the California DIR to verify the XML data is in the correct format and that no fields are missing. Follow the instructions in the eCPR XML Guidelines document provided on the DIR website (see screen shot below) and refer to the section entitled “XML File Validaion”. You will also need to download the XML schema file from the DIR website and place the schema file along with any XML files to be tested in the same directory folder.
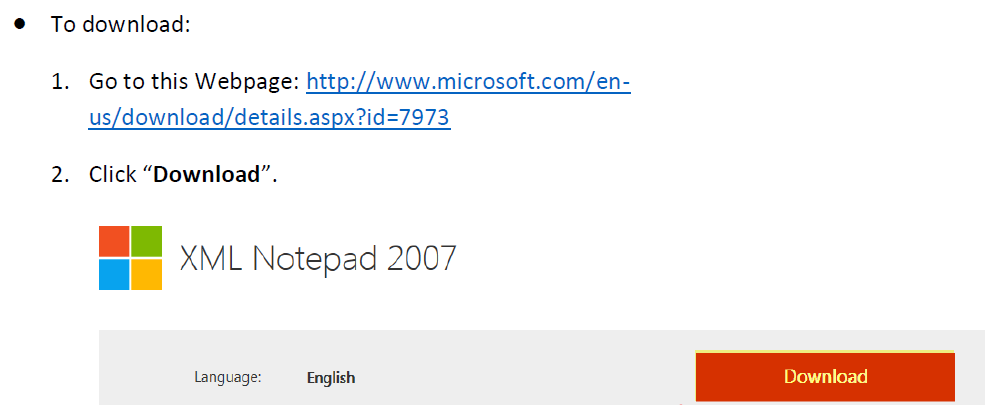
2)As noted in the XML Guidelines document, you will download the free XML Notepad program and install on your computer. After installing the program, you will follow the instructions to open the XML file(s) and the XML schema file to check for any errors.

Additional Notes/Hints:
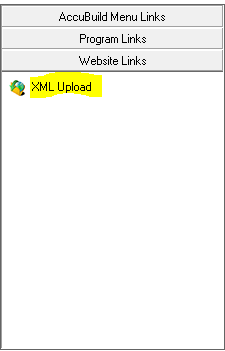
Once the XML certified payroll is installed, it will be much faster for the users that will be processing these payroll reports to add shortcuts on the AccuBuild Program main menu. These shortcuts will include a Program Link shortcut to the user’s folder where the XML files are stored, a Website Link to the California Public Works website where the XML files are uploaded, and finally a report shortcut to the new XML Certified Payroll report:
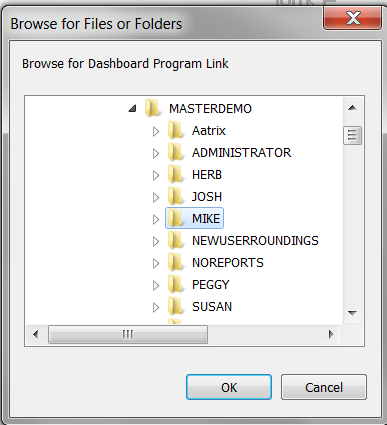
Program Link – Add a new program link (right-click menu) and browse to the user folder under your company folder where the AccuBuild program is installed and click OK. This shortcut will allow you to open up directly to your user folder when you need to locate new XML files for uploading to the state website:

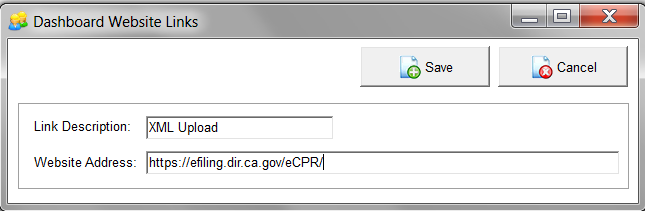
Website Link – Add a new website link (right-click menu) and enter the Link Description for the website along with the website address and click the Save button.
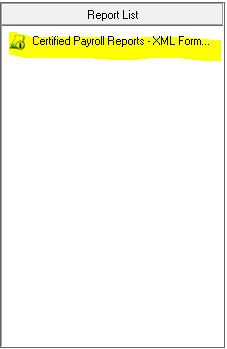
Report Link – Add a new report link (right-click menu) for the new XML Certified Report and click the Save Button.
Validation of XML Files:
The following instructions obtained from the State of California Public Works website can be used to validate your XML Files to make sure they are correct BEFORE you upload them to the website. Be sure to follow the instructions for downloading the free XML Notepad program from Microsoft.
•Install XML Notepad (Free download from Microsoft):
Download copy of the State Schema File: CPR.xsd
1)Open the following web page: https://efiling.dir.ca.gov/eCPR/pages/home.jsp
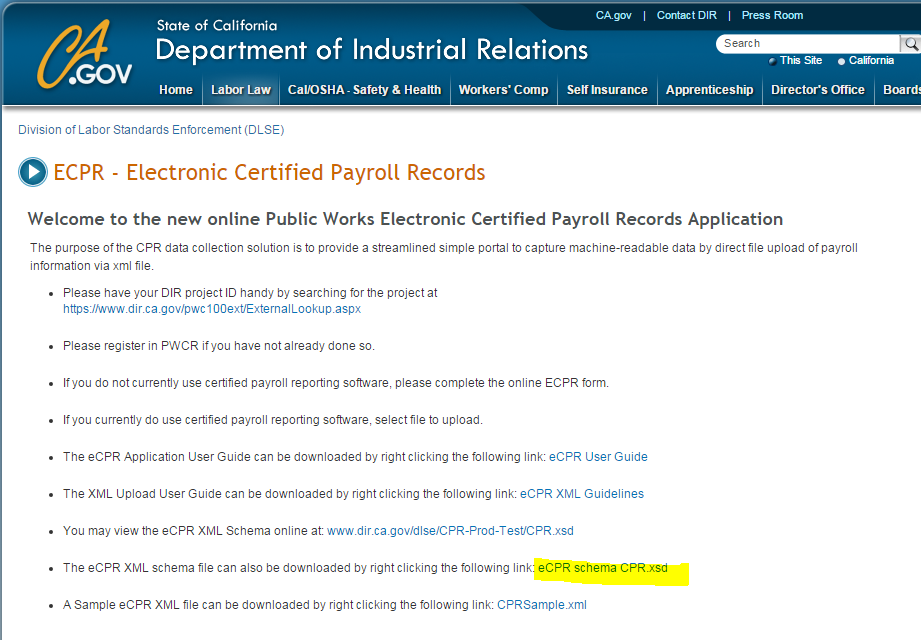
2)Right Click on the “eCPR schema CPR.xsd” link and choose the Save link as… option to save the schema
Validate and XML File
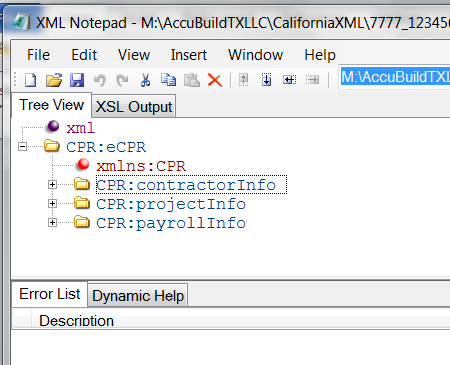
1)Load the XML Notepad Program.
2)Open the XML File using the File|Open menu – you should see a collapsed tree structure of the file as shown:
3)Open the State of California Schema file (CPR.xsd) using the View|Schemas… menu option.
Use the File|Add Schemas menu to add the CPR.xsd file (first time only). The schema file should always be there when you close and reopen the XML Notepad program.
4)Check for errors in the Error List section on the bottom half of the screen. If errors are listed, you can double click on the error to find the portion of the XML file that has problems in the upper panel tree view listing of the XML File.
If there are no errors in the file, then the data if formatted correctly for the state website.